


No matter what kind of gate you buy or build, the installation is a bigger part of whether you’ll be happy with it in the long run. I’ve installed a few gates in my life, here’s a few tips to help you out.
Thinking about the finished gate before you start. Ask yourself, “Where do I want this gate to swing?” “Where will it latch it or let it rest against?” Just answering these questions will make your gate work better.
Here’s a few more ideas to help:
Tip #1
Make sure your post is strong and straight. Theres 3 basic ways to make sure your gate post is strong enough.
First, just put a big post, deep in the ground, and cement it really well. This is best used on places where the post is not able to be supported, or where overheads are not wanted.
The second way is to use overhead supports. Usually you want to make overheads at least 12’ tall to ride under on horseback, or get a normal tractor under it during clean-out. (A tractor with the loader DOWN that is!) You’re best off using a 4 1/2” post for the hinge end, but the latch end can be 2 7/8”. The overhead is often 2 2/3”, but 2 7/8” will work fine.
The third option is to have 2 direction support for your gate post with top rail. This is probably the strongest way to have a gate post because the load is spread out over 2 whole fences, not concentrated.
No matter which way you do this, getting a strong post is probably the most important part of installing a gate. You can always replace a gate in an hour, replacing a post is hard work that is best never done!
Tip #2: Gates need to be level.
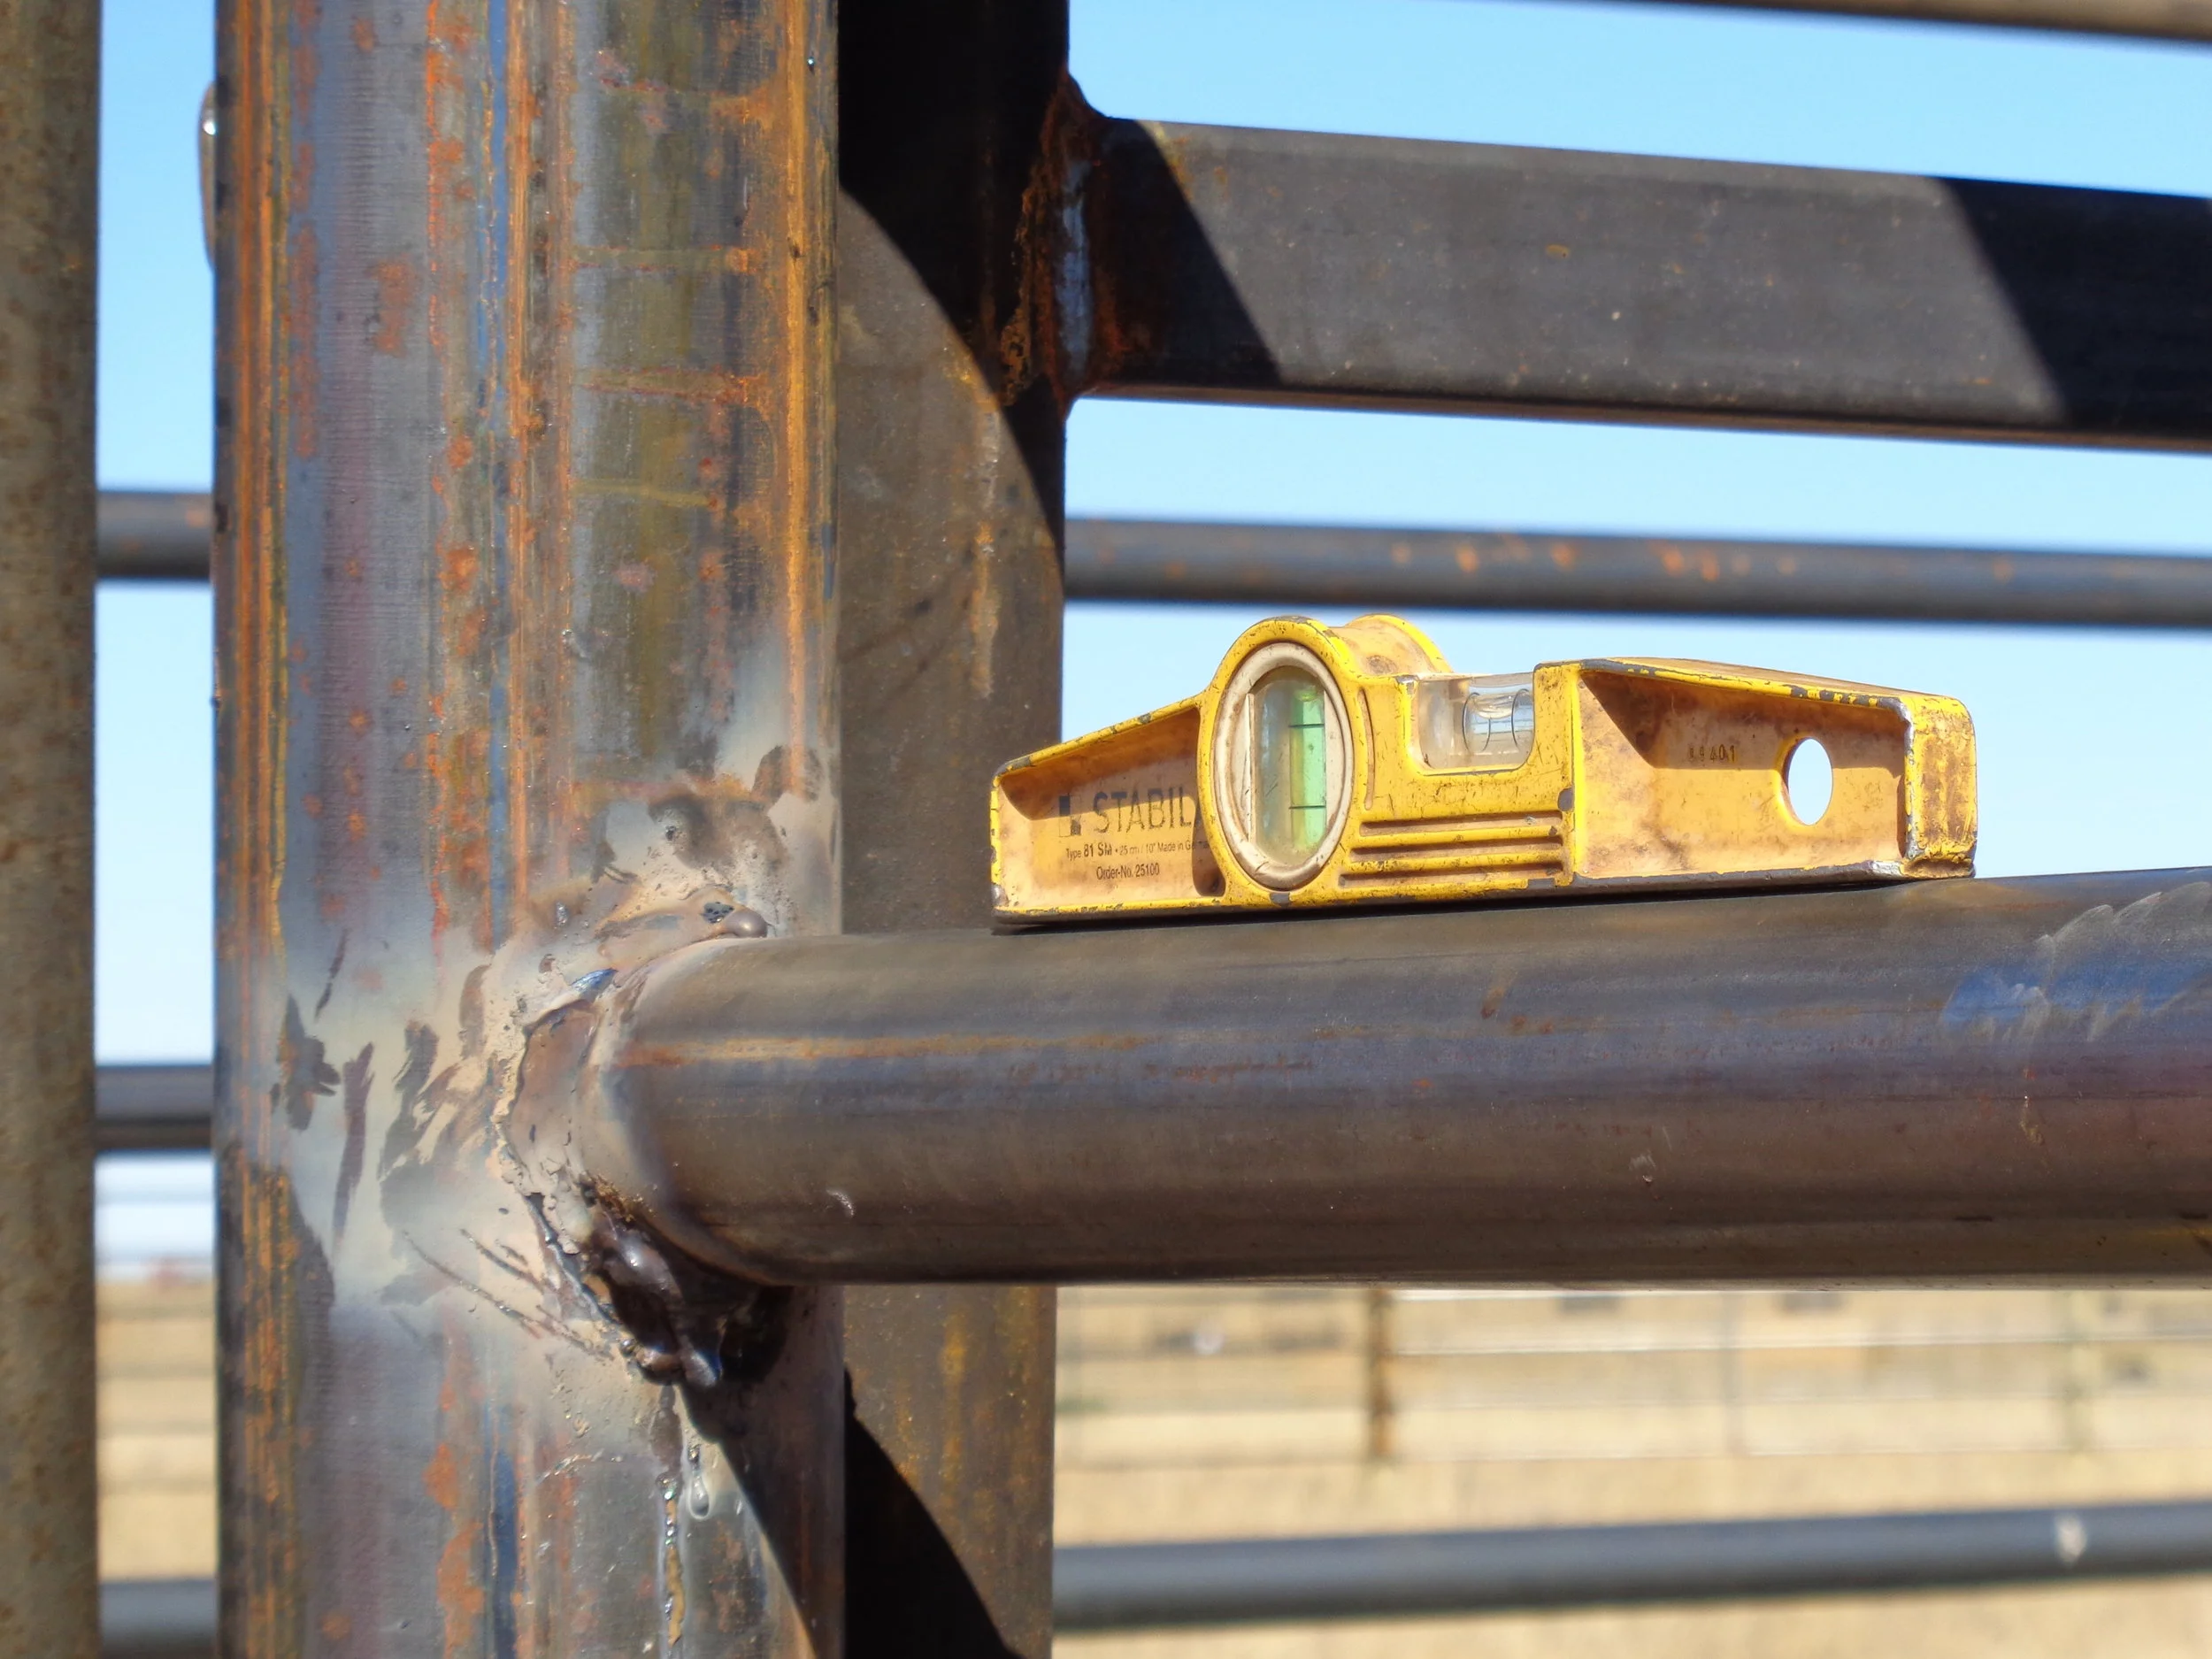
I’ll probably do a whole post about leveling gates, but for now, lets just say that gates should be level (except on hillsides, but we’ll talk about that another day)
You want to install the gate so the latch end is just a little bit high, (the edge of the bubble on the line is enough) That way the gate will sag down and be perfectly level.
The hinge end generally should be plumb. The only exception is when you are mounting a gate crosswise on a hill, then you want to tilt the hinge end enough so the gate will come up and follow the land rather than plowing into the ground.
Tip #3: Gates in a fence line should be offset
Gates need to swing around and latch back against the fence. You do this by offsetting the gate enough to fold back. Installing gates straight in the fence line should be avoided unless the gates doesn’t swing thru. At no point should a gate hit at the hinge before it can be latched, It will get bent or broken if it does.
Tip #4 Make some space on both ends of the gate
You want to leave about 1” to 1.5” of space on the latch end. If it’s too wide, the latch doesn’t work and small animals might get their head stuck in it, if it’s too tight, you might smash your hand in it, or it might settle and not be able to swing thru.
The gate you buy should be 3” shorter than the gap your are filling, so you will have about 1.5” on both the hinge side and the latch side.
Tip#5: Test it out!
After you get the gate set in place, tack it up enough to hold it. Take the blocks out and test it out before you weld it up solid. It’s a lot easier to make any changes now than to have to cut it all off to make a change.
Tip #6: Weld it up (hill)
The first thing you want to do is clean the metal up. If there is thick rust, paint, dirt, or any kind of coating on the post, go ahead and use a wire wheel or grinder to clean it up. The mounting plate is usually good to go, but it doesn’t hurt to clean it up if it’s been sitting out in the weather.
I’ll do another post on welding, but the main thing is to use the proper size of rod and proper welding method, which is to weld uphill.
The biggest thing to make sure your gate sticks is to use good quality welding rod that has been sorted correctly. Almost any type of general purpose welding rod will stick it on, but my personal choice is E7018. I’d recommend using a small rod, such as 1/8” or 3/32”, don’t use large rods or weld downhill, I used to do this, but it’s not as strong and it’s worth spending the time to do it better.

Make sure to use proper safety gear. safety glasses, long sleeve shirts, welding helmet, steel toe boots, and gloves.
I’ll have more tips on setting up the post and latch in the coming weeks. Make sure to follow along on social media (links at bottom of the page) and don't be a stranger if you’re needing some help designing up a set of corrals! Click the contact button to send an email, or write me at jake@aurochsconsulting.net